Creating a World
To begin, we'll need to create a new world file. WorldPainter has a default map on startup, but creating a new one allows us to change some options.
Click File > New World... or press Ctrl+n.
The Create New World window should appear. You can change options on the left side and see a preview on the right.
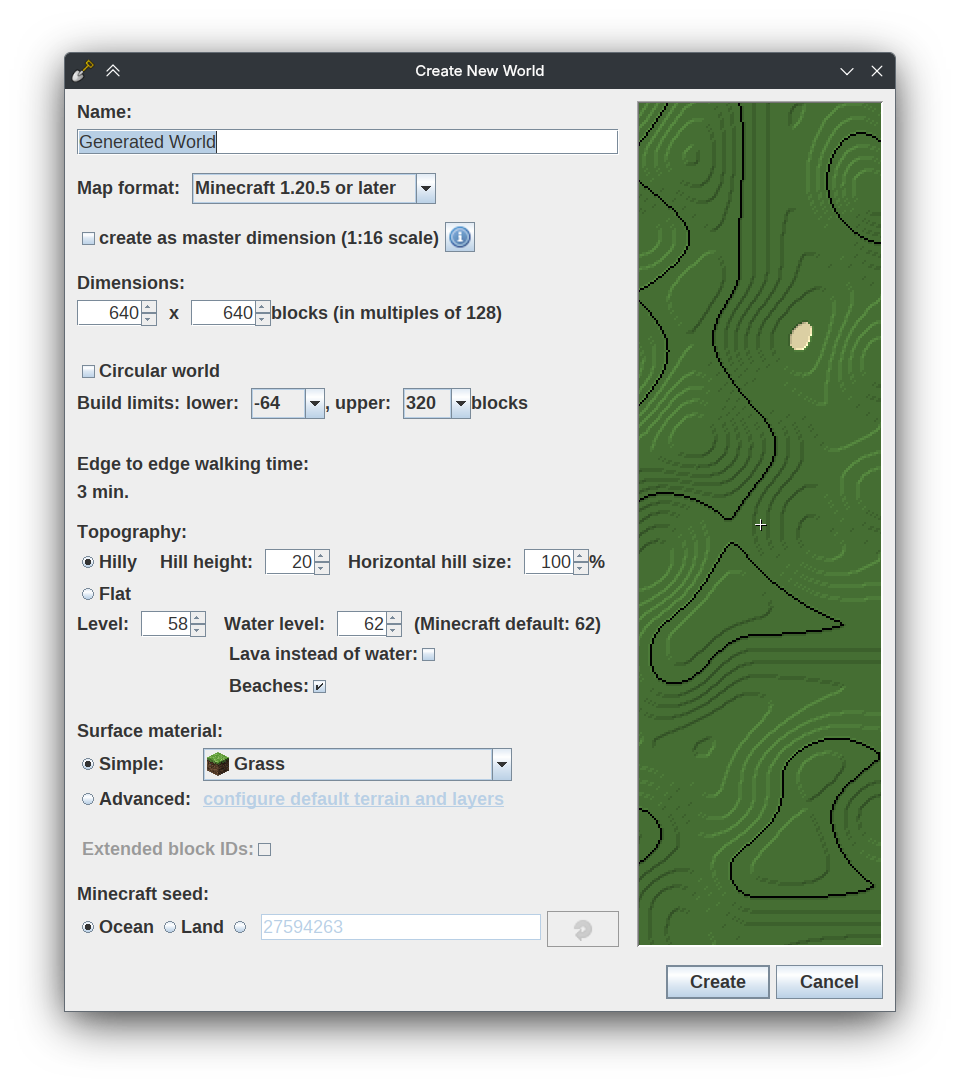
First, choose a suitable name, like "My First World" or whatever you like.
The map format represents the Minecraft version format you want to use. Each format has different capabilities and compatibility. You probably want to leave it at the default value, which is the newest format.
Do not check create as master dimension. You can click the info button to learn about them if you like, but we're not interested in created one of those right now.
The dimensions of our map define the size of the world in blocks. WorldPainter only supports multiples of 128, so you can't, for example, have a world size of 1000 by 1000 blocks. This is because of how Minecraft works, but at such large scale 128 blocks is a fine interval.
For this world, we'll be sticking with the default 640 by 640 size. leave circular world and build limits unchanged.
The topography options define our starting point. We're making an island, so let's make things easier on ourselves and start with ocean. The default topography level is 58, which is above the water level. Set it to something like 30.
Everything else is fine for now. Click Create and wait for your world to generate.
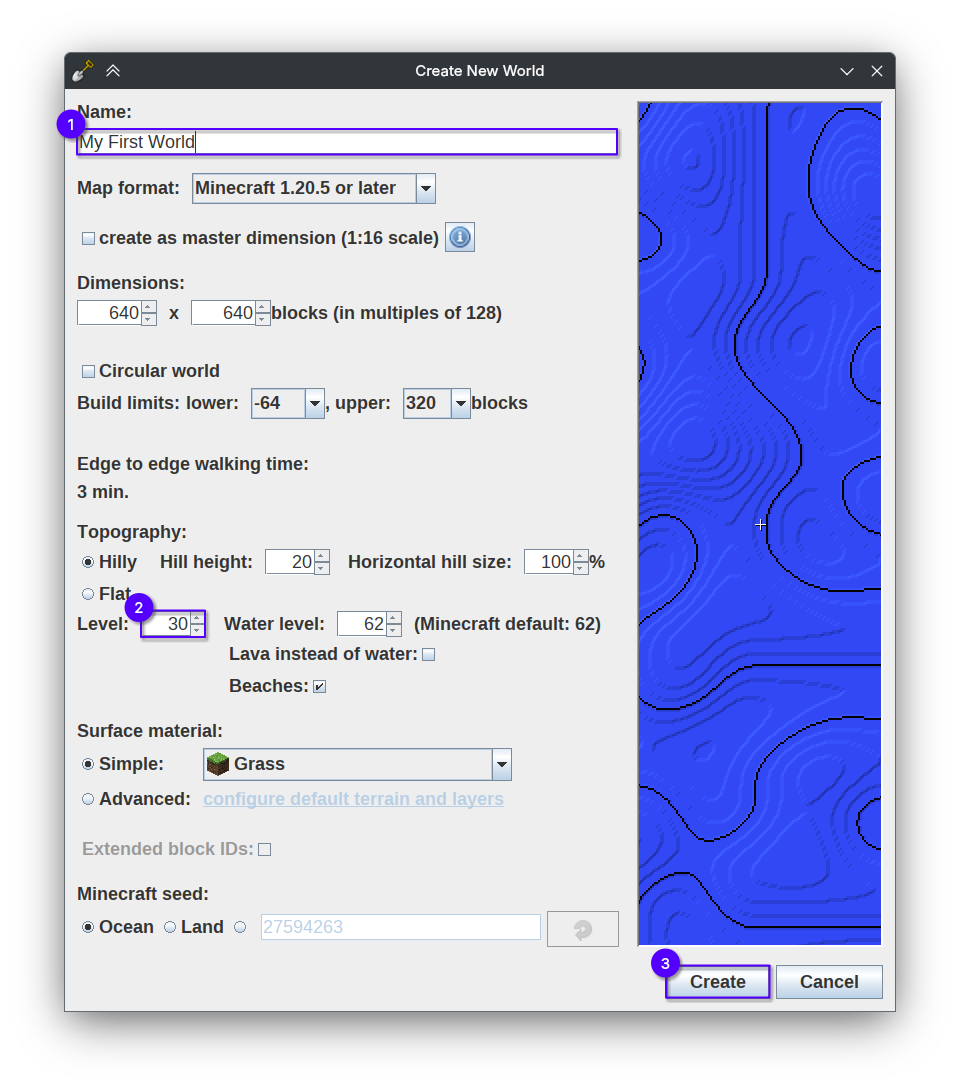
In a short time, you should now have a 640 by 640 square of ocean. Yippee!
Before moving on to the next step, don't forget to save your world. Click File > Save World or press Ctrl+s and select a place to save your world.
You can load your world by clicking File > Open World... or File > Recently used Worlds > My First World.world or Ctrl+o.