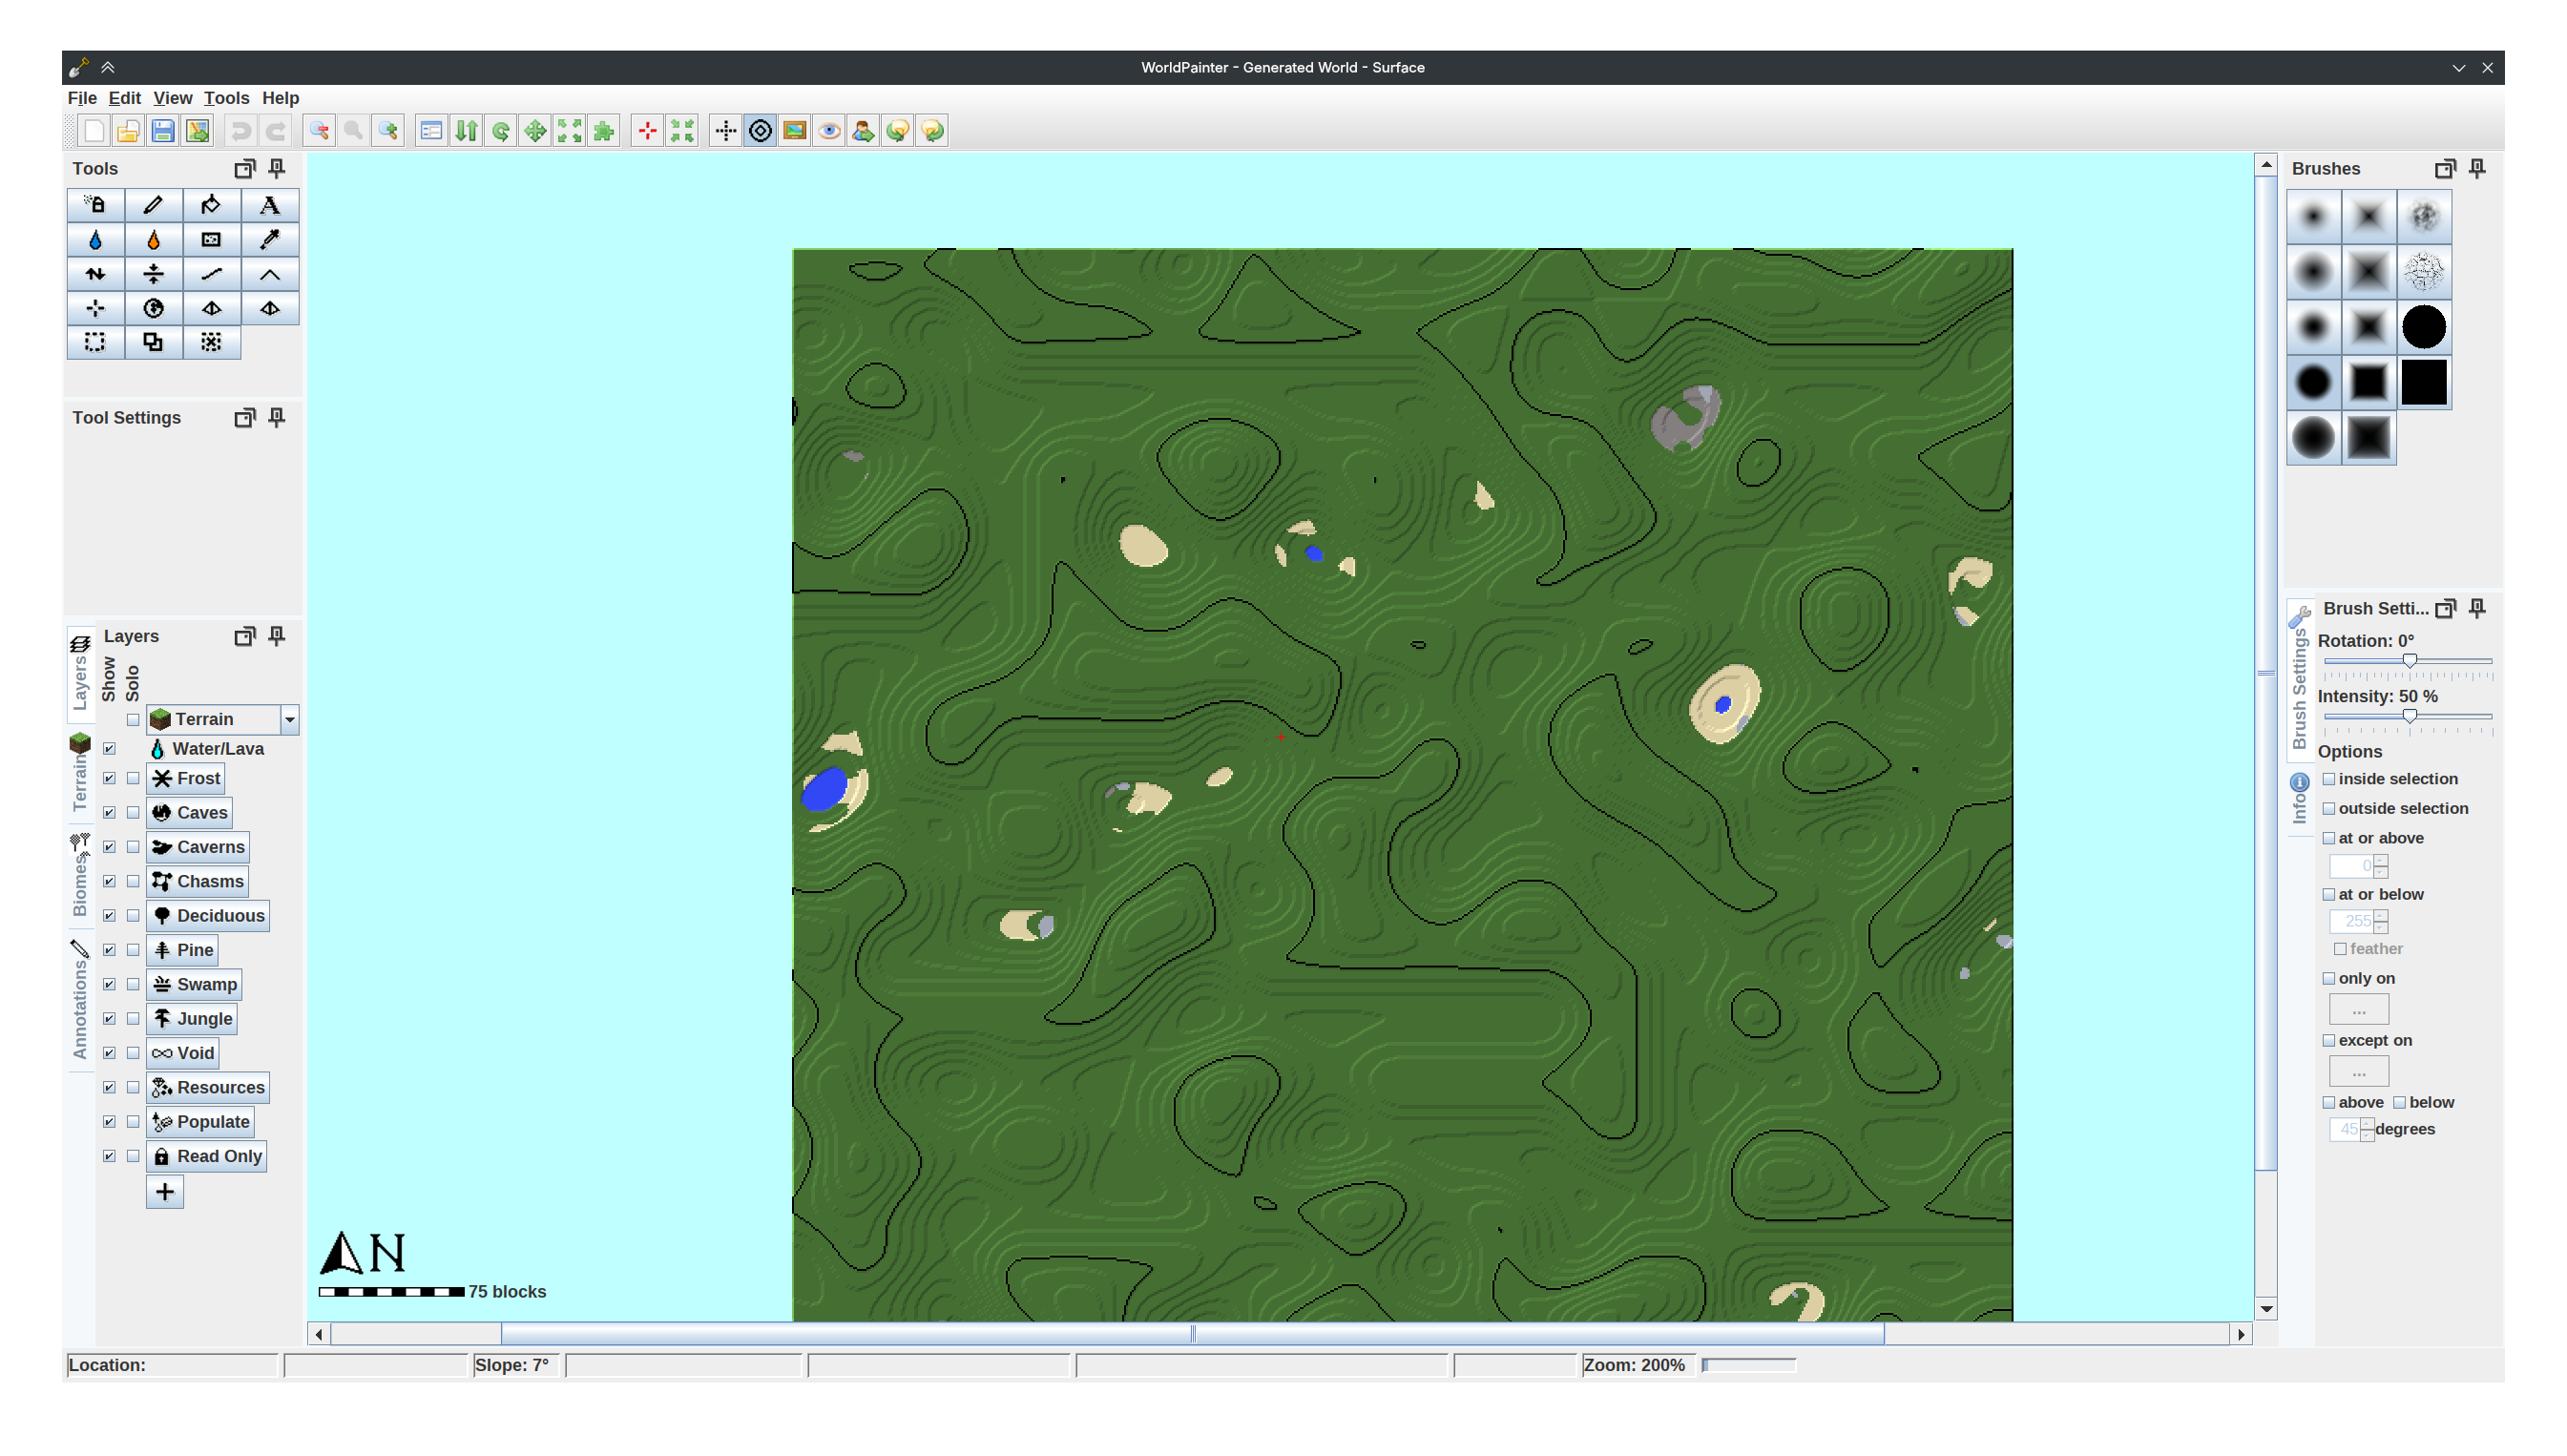
The Workspace
The main WorldPainter window is called the workspace. It consists of the menu bar, the status bar, several docks, and the viewport. As you'll soon see, WorldPainter's workspace layout can be extensively customized.
The Menu Bar
At the top left of the main window is the menu bar.
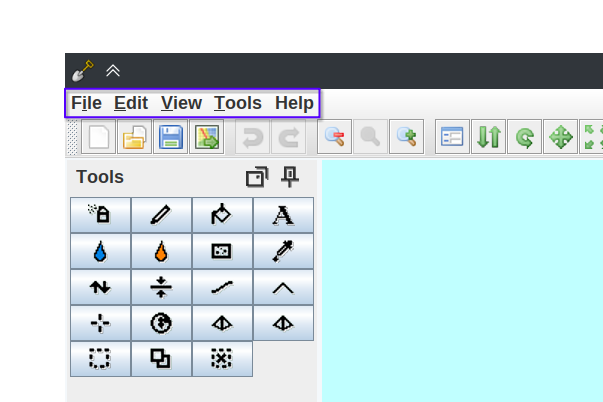
The menu bar contains many important actions.
The Status Bar
The status bar contains various information:
- The coordinate location of your cursor on the map.
- The height of the location of your cursor on the map.
- The slope of the location of cursor on the map in degrees.
- The terrain material of the location of your cursor on the map.
- The biome of the location of your cursor on the map.
- The radius of your brush.
- The zoom level of the viewport as a percent.
- The amount of system memory used by WorldPainter.

Docks
Surrounding the viewport are several docks. You can move, combine, and resize these docks as you wish.
TIP
The docking system can be tricky to get a hold of when you're first getting started. Take some time to experiment with dragging the docks into different positions. You can reset back to the original layout by selecting View > Workspace layout > Reset current and default
Toolbar
By default, the toolbar is at the top of the main window. It allows you to quickly perform various actions.

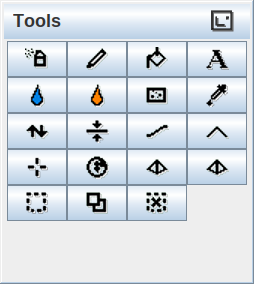
Tools
The tools dock contains buttons representing each of the available WorldPainter tools. Click on any one to make it your active tool. By default, it is on the left side of the main window.
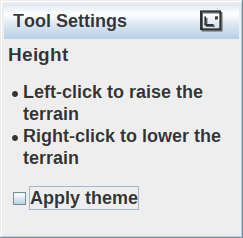
Tool Settings
The tool settings dock contains guidance and options for your active tool. By default, it is on the left side of the main window, under the tools dock.
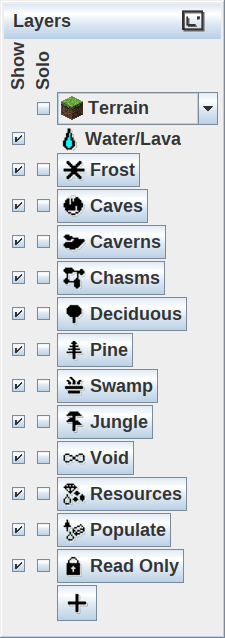
Layers
The layers dock contains a list of layers. You can click on a layer to apply it to your tool. You can also click the Show checkbox to toggle a layer's visibility and the Solo checkbox to quickly hide all layers except layers with solo enabled. The selected layer will always be shown. By default, it is on the left side of the main window, in the first tab.
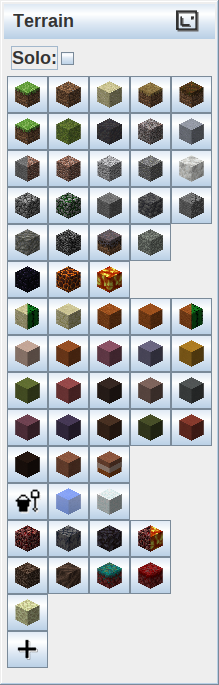
Terrain
The terrain dock contains buttons representing all available terrain materials. Click on any one to apply it to your tool. You can click the solo checkbox to hide all other layers. By default, it is on the left side of the main window, in the second tab.
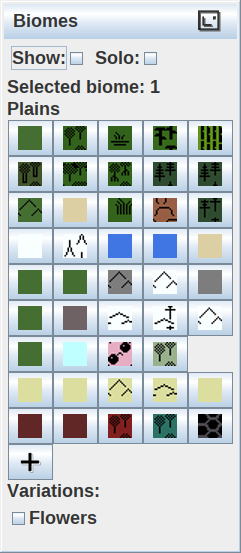
Biomes
The biomes dock contains buttons representing all available biomes. Click on any one to apply it to your tool. You can click the show checkbox to toggle the visibility of biomes and you can click the solo checkbox to hide all other layers. If the selected biome has variations, you can adjust them using the checkboxes below the biome list. By default, it is on the left side of the main window, in the third tab.
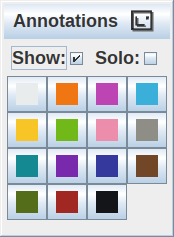
Annotations
The annotations dock contains buttons representing annotation colors. Click on any one to apply it to your tool. You can click the show checkbox to toggle the visibility of annotations and you can click the solo checkbox to hide all other layers. By default, it is on the left side of the main window, in the fourth tab.
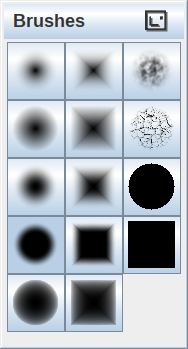
Brushes
The brushes dock contains buttons representing your available brushes. Click on any one to apply it to your tool. By default, it is on the right side of the main window.
Brush Settings
The brush settings dock contains controls for your brush. By default, it is on the right side of the main window in the first tab.
- Rotation: adjust the rotation of the brush.
- Intensity: adjust how strong the brush is.
- Options
- inside selection: limit the brush to selected areas.
- outside selection: limit the brush to unselected areas.
- at or above: limit the brush to at or higher than a specified height.
- at or below: limit the brush to at or lower than a specified height.
- only on: limit the brush to a certain layer, biome, or material.
- except on: limit the brush from a certain layer, biome, or material.
- above: limit the brush to angles above a specified angle.
- below: limit the brush to angles below a specified angle.
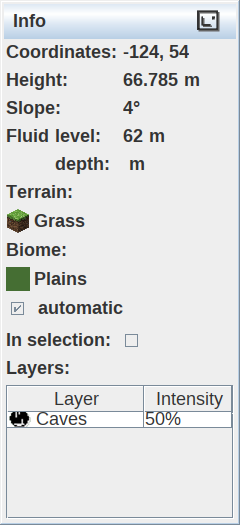
Info
The info dock contains information about the location of your pointer on the map. By default, it is on the right side of the main window in the second tab.